



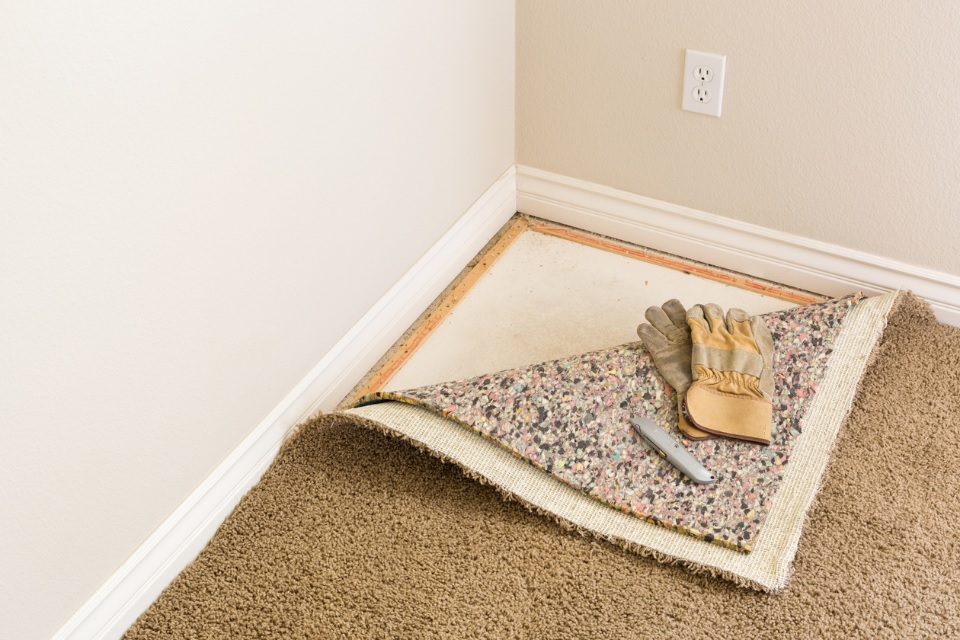
When it comes to getting the maximum comfort from your carpet, there’s one often-overlooked aspect that makes all the difference: underlay.
Think of it as the cushiony layer that supports your carpet, quietly working behind the scenes to create comfort and warmth.
But here’s the catch: to get the most out of your underlay, it also needs to be fitted correctly. Don’t you worry, we’ve got your back. Below is everything you need to know about fitting the carpet underlay, making it a pretty straightforward DIY project.
Choose the Right Underlay
No surprise there. So, before you break out any tools, it’s time to talk about underlay types. As you might have already guessed, not all underlays are created equal. So picking the right one for you can completely change how your room feels underfoot.
For example, if you’re working on a bedroom or a quieter space where you want that cosy, sink-your-toes-in vibe, foam underlays are a brilliant pick. They’re lightweight, soft, and excellent at reducing noise.
For high-traffic zones like hallways or stairs, you’ll want something tougher, like rubber. These underlays hold their shape well and are built to take a beating.
If you’re planning to lay carpets in a slightly damp area like a basement, look for moisture-resistant options. And if you’re aiming for a more eco-friendly home, felt underlays made from recycled fibres add insulation and comfort without the environmental guilt.
Here’s a pro tip: thickness matters for sure, but it’s not the only thing to look at. A thicker underlay feels cushier, but if it’s too thick for your carpet type, it could cause problems at the edges or doors.
Density is just as important. A dense underlay offers better support, which means your carpet holds up better over time. Always check the carpet manufacturer’s guidelines so you’re not guessing.
Before buying, measure your space carefully so you get just what you need—no waste, no second trips. While you’re at it, check if the underlay comes with a warranty. It’s often a good sign of quality.
Gather Your Tools
Before you start rolling anything out, pause and get your toolkit sorted. Having everything you need within reach makes the whole process easier and more enjoyable.
A sharp utility knife should be at the top of your list. This is what you’ll use to cut the underlay cleanly. A measuring tape is essential too, especially for getting your room’s size spot on.
A straight edge will help you cut nice, straight lines. If you want a finish that feels professional, a carpet roller is your new best friend. It presses the underlay flat and helps smooth out air bubbles.
You’ll also want a sturdy pair of scissors for tight corners or awkward shapes, as well as gloves for grip and hand protection. Depending on the type of underlay, you may need double-sided tape or carpet adhesive to keep everything secure.
Tape is great if you want flexibility, while glue offers a more permanent hold. Go with whatever makes the most sense for your space.
Prepare the Floor
Now that you’re kitted out, it’s time to turn your attention to the floor. Getting this part right sets the stage for everything that follows.
First, give your subfloor a thorough cleaning. Sweep up dust, pick up any debris, and mop if needed. A clean surface makes the underlay grip better and stops little lumps from forming beneath the carpet.
Once everything is clean, check for imperfections. Are there cracks or uneven areas? Fill and sand them down. A spirit level can help you spot any dips or bumps that need attention.
Make sure the floor is completely dry before laying anything down. Trapped moisture can lead to mould or warping, and nobody wants that under their carpet. Take accurate room measurements and note any unusual shapes or corners.
Also, it’s smart to leave a small gap, around 10mm, between the underlay and the wall to allow for natural movement once the carpet goes in.
Measure and Cut the Underlay
This is where your room starts to take shape. Using your measurements, cut the underlay to fit.
Lay out the roll and mark your cutting lines using a straight edge. Always double-check your measurements before slicing. The old “measure twice, cut once” rule really does save time here.
Use a sharp knife and take your time. If you’re cutting around corners or odd angles, trim in smaller sections rather than trying to get it perfect in one go.
Lay each piece loosely in position first, making sure it fits neatly with the next. You want them to sit edge-to-edge, not overlap. Overlapping causes bumps that will show through the carpet. And again, leave a little breathing room around the perimeter.
If the manufacturer has specific recommendations for cutting or placing the underlay, follow them. A good fit now saves headaches later.
Lay the Underlay
You’re ready to start laying for real. Begin in one corner of the room and work methodically across—line up the edges of each piece so they meet neatly—no gaps, no overlaps.
Use double-sided tape or glue to secure each section in place, keeping edges and seams intact as you go. If you’re using tape, press down firmly so it holds. If you’re using glue, allow time for it to get tacky before placing the underlay on top.
Smooth out each section as you go. Press down on any bubbles and use a carpet roller to smooth out the surface. This will help the carpet lay evenly later.
Trim the Edges
Once the underlay is fully laid, give it a final trim. This is about getting everything looking tidy before the carpet goes down.
Check the perimeter of the room for any sections that overhang or extend beyond it. Using your knife, trim these back so they sit just shy of the wall. About a quarter of an inch is perfect. That small gap allows your carpet to expand slightly without bunching up.
Be careful with your cuts here. You don’t want to slice too deeply and damage the subfloor or walls. A ruler can help you get clean, straight lines. If you notice any rough or jagged edges, a quick pass with fine sandpaper can neaten things up.
This extra bit of care helps everything look professional once the carpet is installed.
Install the Carpet
Now for the exciting part, laying the carpet itself. Roll it out carefully across your newly prepped underlay, starting from one side of the room. Let the carpet relax into place, giving it a few minutes to settle and take shape.
Line it up with the walls and make sure there’s a bit of excess carpet around the edges for tucking. Once you’re happy with the position, secure it using glue or tape along the seams and edges, just like you did with the underlay.
Smooth out any bumps or wrinkles right away. A carpet roller comes in handy here again. It presses the carpet down firmly and helps it adhere evenly.
If you’re working with a dirty carpet, consider using a carpet cleaning service beforehand. It’s a great way to give your flooring the best possible start, especially if it’s been in storage or exposed to dust during renovations.
Once everything is in place, trim off the extra material around the room. Cut slowly and carefully, avoiding the walls or skirting boards. The result should be a snug, smooth fit with no puckering or loose spots.
Conclusion
So there you have it! That’s all you need to know about how to fit a carpet underlay all by yourself!
It’s one of those DIY projects that might feel fiddly at first, but once you get into the rhythm, it’s surprisingly straightforward and rewarding.
And best of all, every time you walk into that freshly carpeted room, you’ll feel the difference under your feet, and have yourself to thank for it!